1. Introduction to Homemade Gummies
– Crafting Your Own Sweet Treats
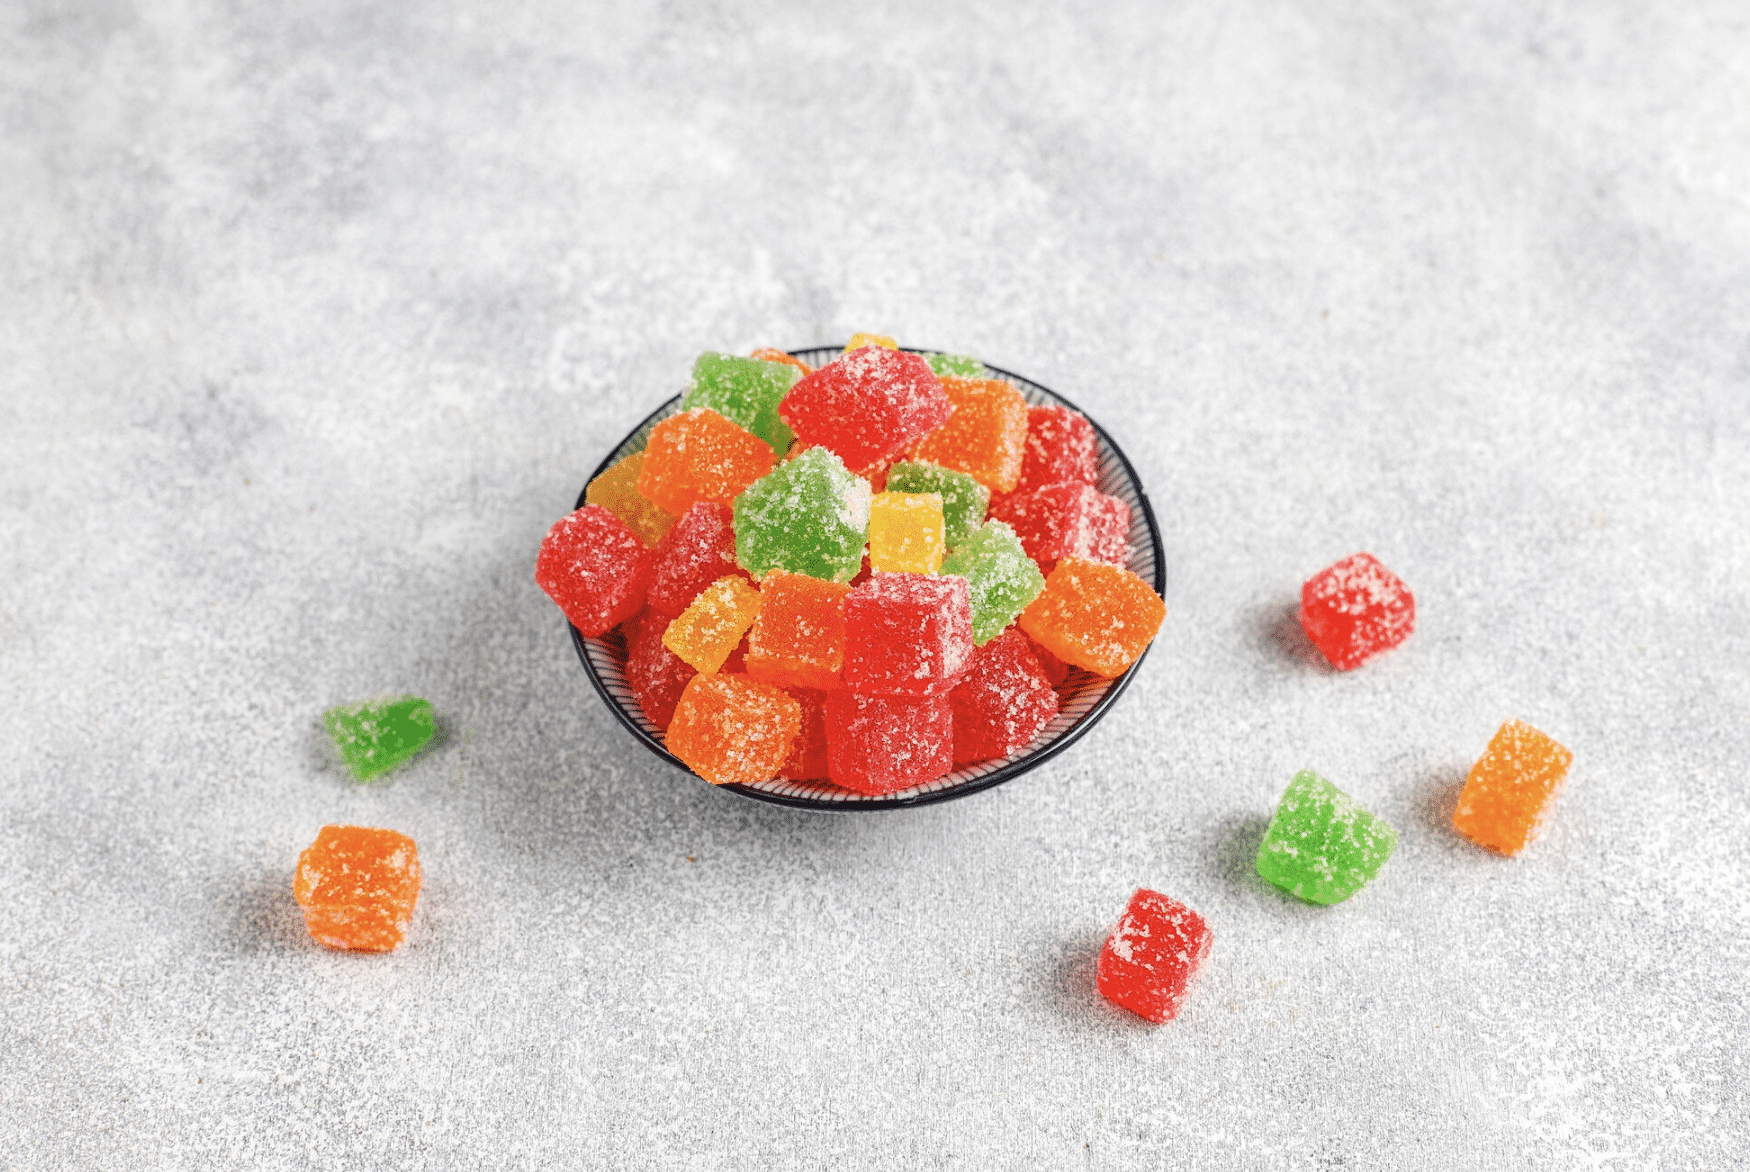
Homemade gummies bring a delightful twist to the world of confectionery, allowing you to tailor the flavors, ingredients, and shapes to your liking. Dive into the joy of creating these chewy, flavorful treats right in the comfort of your kitchen.
2. Ingredients for Perfect Homemade Gummies
– The Essentials
• 1 ½ cups of fruit juice (your choice, but avoid pineapple, kiwi, and papaya as they can affect gelling)
• ½ cup of water
• ½ cup of granulated sugar (or honey to taste)
• Food coloring (optional)
• 1 tsp of citric acid (for tartness, optional)
• Additional sugar for coating (optional)
– Customization Options
One of the beauties of making your own gummies is the ability to customize. From vitamin-infused gummies to those with unique herbal infusions, the choices are as vast as your imagination.
3. Step-by-Step Guide to Homemade Gummies
- Prepare your molds by lightly greasing them with a neutral oil like canola or using non-stick spray. If you don’t have molds, you can pour the mixture into a shallow pan and cut into shapes later.
- In a small saucepan, combine the fruit juice and water. Sprinkle the gelatin powder over the liquid and let it sit for a few minutes to “bloom.” The mixture should become somewhat solid.
- Heat the mixture over medium-low heat, stirring constantly until the gelatin is completely dissolved. Do not let it boil as high heat can affect the gelling ability.
- Add the sugar and stir until it dissolves. If you’re using honey, you can add it off the heat to preserve its nutrients.
- If you want to add food coloring or citric acid, do so now. You can split the mixture into different bowls to make multiple colors.
You will also need to :
- Pour the mixture into your prepared molds or pan. Use a dropper for precision if needed.
- Allow the gummies to set in the refrigerator for at least 2 hours or until firm.
- Once the gummies are set, if you’ve used a pan, cut them into your desired shapes.
- Optional: Roll the gummies in granulated sugar or a mix of sugar and citric acid for a sour coating.
- Store the gummies in an airtight container in the refrigerator. They should keep for up to a week.
4. Health Benefits of Homemade Gummies
– Control Your Ingredients
By making gummies at home, you have control over the quality of ingredients, ensuring a healthier option without compromising on taste.
– Nutrient Boost
Explore adding vitamins, minerals, and other beneficial nutrients to your gummies, turning them into a guilt-free indulgence.
5. Flavors Galore: Experimenting with Taste
– Fruit Fusion
Combine various fruit juices to create unique flavor combinations. From classic berry blends to exotic tropical twists, your taste buds are in for a treat.
– Herbal Infusions
Experiment with herbal infusions like chamomile, mint, or lavender, adding a sophisticated and aromatic touch to your homemade gummies.
6. Storage and Shelf Life Tips
– Preserving Freshness
Learn the best practices for storing your homemade gummies to maintain their freshness and prevent them from sticking together.
– Extended Enjoyment
Discover tips for extending the shelf life of your gummies, ensuring you can savor your homemade creations over an extended period.
7. Homemade Gummies for All Occasions
– Gift Ideas
Homemade gummies make delightful gifts for friends and family. Explore creative packaging and presentation ideas to make your treats stand out.
– Party Pleasers
Whether it’s a birthday celebration or a casual get-together, homemade gummies can be the star of the party. Customize colors and shapes to match the theme.
8. Conclusion
In conclusion, making homemade gummies is not just a culinary adventure but a journey into crafting sweet moments. Embrace the joy of creating, experimenting, and indulging in these chewy delights that reflect your unique taste and style.
Unique FAQs
- Can I use vegetarian alternatives for gelatin? Absolutely! There are vegetarian and vegan gelatin alternatives available, such as agar-agar or pectin.
- How long does it take for homemade gummies to set? The setting time varies, but on average, it takes around 2-4 hours for homemade gummies to fully set.
- Are homemade gummies suitable for children? Yes, they are. You have control over the ingredients, making it possible to create healthier versions with natural sweeteners for little ones.
- Can I use fresh fruit puree in my homemade gummies? Certainly! Fresh fruit puree adds a burst of natural flavor and can be a great alternative to store-bought fruit juices.
- What is the secret to avoiding sticky gummies? Dusting your molds with a light layer of cornstarch or powdered sugar can help prevent stickiness and ensure easy removal of your homemade gummies.