Introduction
Indulge in the irresistible sweetness and crunchiness of our Butterfinger Balls – a delightful treat that combines the rich flavors of peanut butter and the distinctive crunch of Butterfinger candy. These bite-sized delights are not only easy to make but are also guaranteed to be a crowd-pleaser at any gathering. Let’s dive into the delectable world of Butterfinger Balls and discover the magic of this simple yet utterly delicious recipe.
Evolution of the Recipe
The story of Butterfinger Balls traces back to the timeless allure of combining peanut butter with the beloved Butterfinger candy. This delightful fusion has undergone its own evolution, transitioning from a traditional candy bar to these bite-sized wonders. Our recipe captures the essence of this evolution, ensuring that every bite delivers the perfect harmony of sweet, nutty, and crunchy flavors.
Premium Ingredients
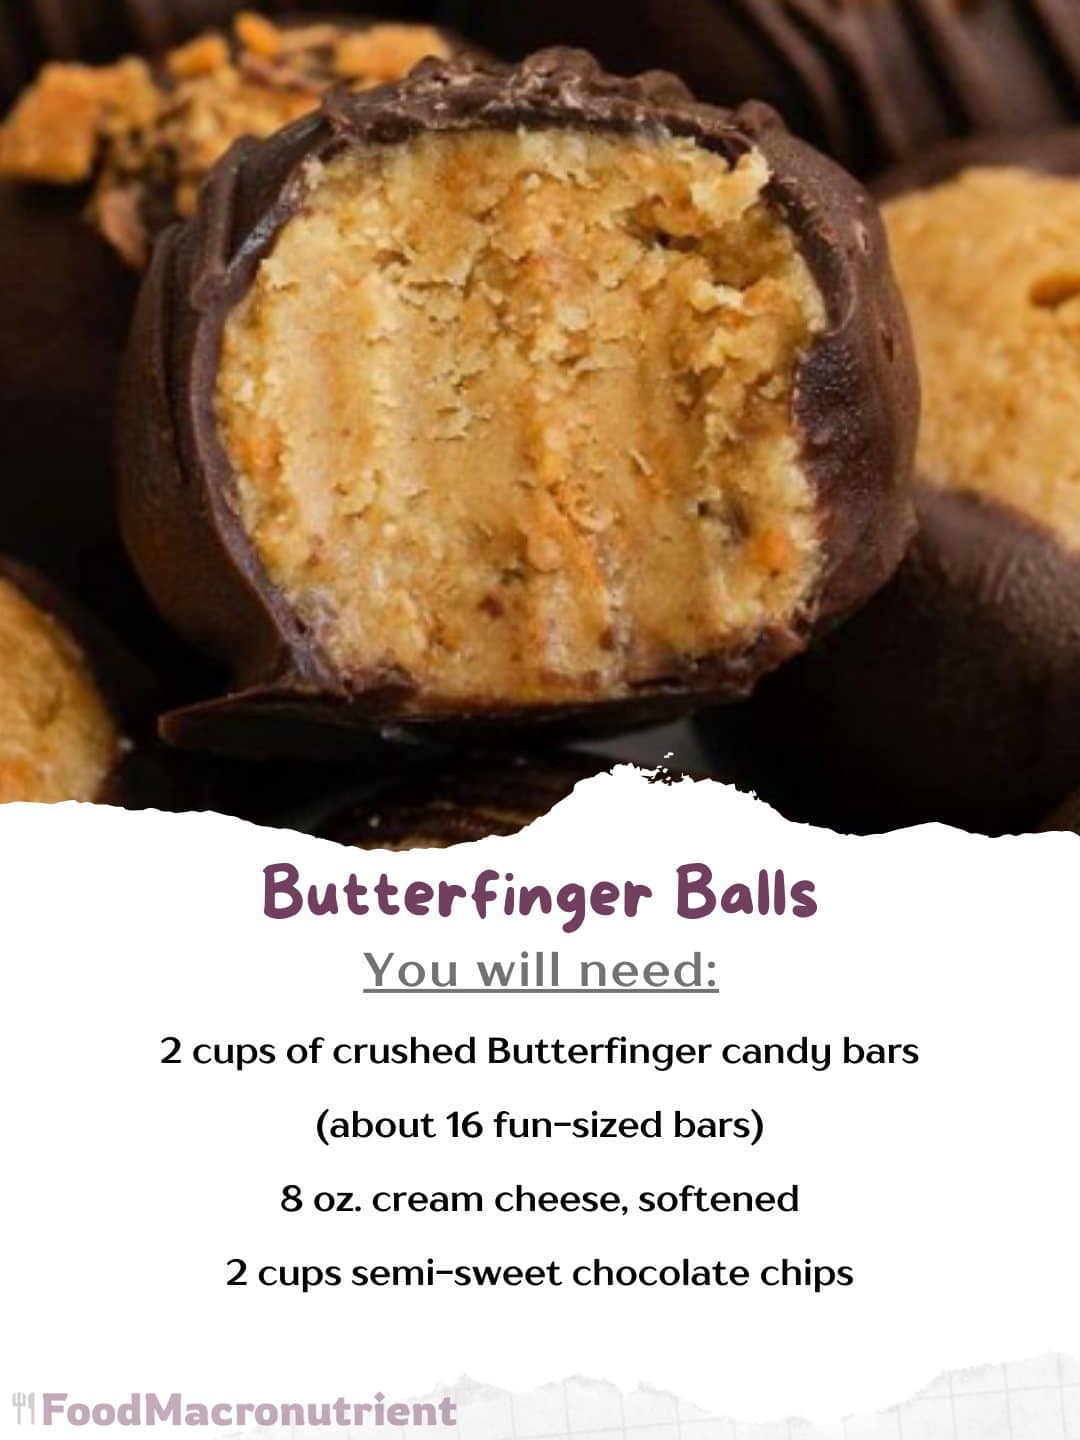
- 2 cups of crushed Butterfinger candy bars (about 16 fun-sized bars)
- 8 oz. cream cheese, softened
- 2 cups semi-sweet chocolate chips
- 1 tbsp. optional vegetable shortening for smoother dipping
- Optional: Butterfinger or chocolate sprinkles for decoration
Step-by-Step Instructions
1. Mixing the Base:
- In a large mixing bowl, combine creamy peanut butter, softened unsalted butter, powdered sugar, and vanilla extract. Mix until the ingredients form a smooth, consistent mixture.
2. Adding the Crunch:
- Gently fold in the crushed Butterfinger candy bars into the peanut butter mixture. Ensure an even distribution, allowing the candy’s distinct crunch to permeate the mixture.
3. Shaping the Balls:
- Scoop portions of the mixture and roll them into bite-sized balls. Place the formed balls on a parchment-lined tray, leaving space between each.
4. Chilling Time:
- Place the tray in the refrigerator and allow the Butterfinger Balls to chill for at least 30 minutes. This step helps the balls firm up, making them easier to coat.
5. Melting the Chocolate:
- In a microwave-safe bowl, melt the chocolate chips in 30-second intervals, stirring between each interval until smooth. Alternatively, you can use a double boiler for melting.
6. Coating the Balls:
- Dip each chilled Butterfinger Ball into the melted chocolate, ensuring they are fully coated. Use a fork to lift the coated ball, allowing excess chocolate to drip off.
7. Setting the Coating:
- Place the coated balls back on the parchment-lined tray. Allow them to set in the refrigerator for an additional 15-20 minutes until the chocolate coating hardens.
8. Serve and Enjoy:
- Once the chocolate coating is set, your Butterfinger Balls are ready to be enjoyed! Arrange them on a serving platter or in decorative packaging for a delightful treat.
Conclusion
Butterfinger Balls offer a delightful journey through the evolution of classic flavors, combining the timeless appeal of peanut butter with the iconic crunch of Butterfinger candy. With their simple preparation and irresistibly delicious taste, these bite-sized treats are sure to become a favorite at any occasion.